Easy Ways To Assemble RTA Cabinets Without Putting Much Effort And Time
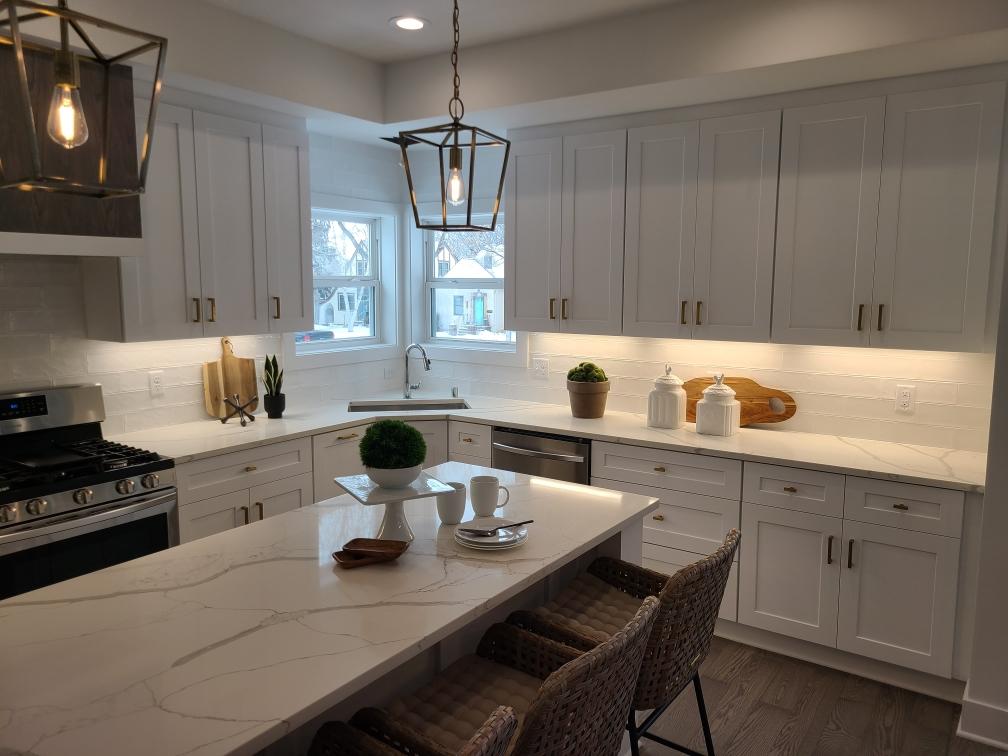
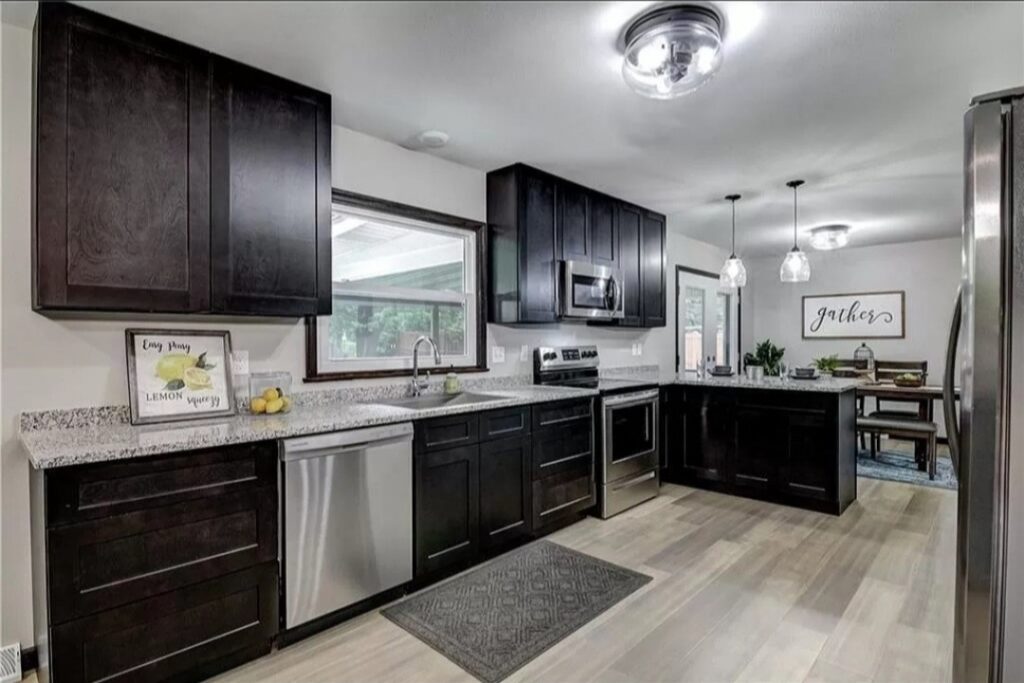
RTA kitchen unit or kitchen furniture is the latest in trend. The units save you money without compromising the quality. Moreover, they are shipped easily and fast. The only thing that often bothers the homeowners is the assembly. They don’t understand if they can assemble the pieces rightly to give the furniture a perfect structure. Don’t worry. There is no rocket science in assembling RTA units.
Steps to follow
Well, you can assemble the RTA cabinets easily by just affording a little time, effort, and patience. Let’s see.
The key things you need for the assembly process are as follows:
- Driver/drill
- Screwdriver bit
- Damp cloth
- Magnetic driver bit holder
- Worktable
- Rubber mallet
- Step 1 – First of all, you need to know the parts of the RTA cabinet. Open the box with a utility knife without scratching the parts. Read the assembly instructions and check if all the parts and hardware are present. For the base unit, there will be one bottom, two sides, four support rails, one back panel, one adjustable shelf along with hardware and dowels. Recognize the right and left sides of the unit. There will be ¼ inch groove at the back edge of the panels. The bottom sides will have drilled holes near the bottom border.
- Step 2 – Place the side panels horizontally keeping the holes pointing up while the back borders facingeach other. Take a small amount of wood glue and put it into the dowel holes on all sides. Avoid putting it in the through-holes.
- Step 3 – Now it’s time to install the bottom part. The alignment should be done with ¼ inch groove on the bottom and a ¼ inch on the left. Insert six bottom dowels into the dowel holes on the left. Take the rubber mallet to tap the border of the bottom to put the dowels into the holes. Remove excess glue with the damp cloth.
- Step 4 – The support rails are to be installed then. They are uniformly drilled. Install them into four dowel holes on the top left edge. Now install the rails into the holes along the back border of the left side right behind a ¼ inch groove. Tap the rails gently with the mallet.
- Step 5 – There will be a ¼ inch channel on the bottom panel. Slide it down to fit it into the channel on the left.
- Step 6 – Now it comes to the right side. Flip it over and align the holes with the dowels in the bottom section and rails. Let the back panel fit into the right side trench. Do this quickly to avoid dripping over the glue. Tap the right part with the rubber mallet. The lag screws should be used now to secure the placement of the cabinet parts. The screws should be put into the seven holes that you can see on both sides.
- Step 7 – There will be pre-drilled pits on the bottom panel. Install the legs there with the screws. You will be provided with four screws for each leg.
- Step 8–There are pre-drilled holes on each side. Put the four-shelf pins into them at the preferred height. Now slide the adjustable shelf on the shelf pins. People worry about how to install RTA cabinets. But you can see that the process is not very tough.
- Step 9 – Now you need to fix two brackets to the back of the drawer. Six screws to fix them will be provided. There will be another four screws to fix two brackets to the front of the drawer. Assemble both sides at the back. You will need to slide the sides onto the brackets to assemble. Fix the front of the drawer now. Just insert the brackets into the sides of the drawer. Keep doing till it clicks. Drawer slides are to be fixed both to the back and front with the screws.
- Step 10 – Left drawer glide is to be attached to the inside of the left and right part to the inside of the right part. Height can be chosen as per your wish. Use two screws for each glide. Keep the drawers on the glide. Keep pushing so it gets clicked and locked.
- Step 11 – Now it comes to the final step. You have to install the doors. Place the door horizontally with two hinge holes. The holes should be facing up. Place the hinge into the hole and push down the cover of the hinge so it gets fixed to the door. Fix the hinge plates onto the left. There will be pre-drilled holes. The hinge arms have to be aligned with the plates. Push them towards the arm’s back until they click. Stick two rubber bumpers to the corners at the inside of the door.
So these are the 11 steps that you need to follow for the installation of the RTA kitchen cabinets.